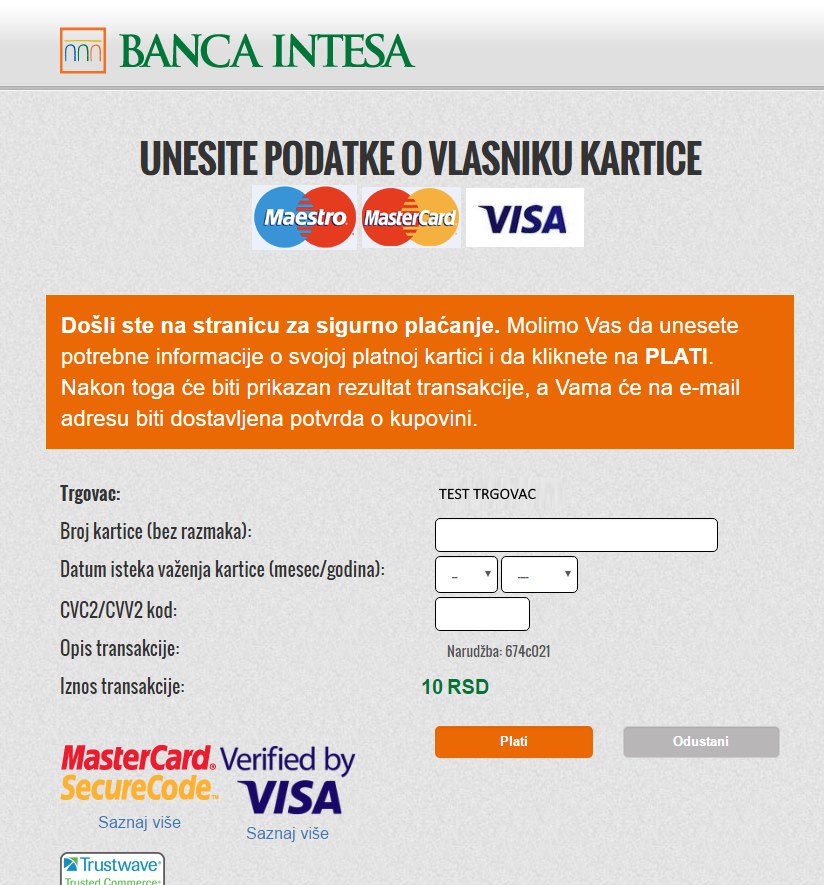
Description
Applies to all banks using the NestPay system: Banca Intesa, AIK banka, Unicredit bank, Erste bank, EuroBank EFG, Komercijalna banka, Sparkasse bank, Gorenjska banka, Deželna banka Slovenije d.d., BKS Bank, Banka Celje, Hranilnica LON, Hranilnica Vipava, Nova KBM, Poštna banka Slovenije, Probanka, Erste Bank Croatia …
Known compatible countries: BiH, Croatia, Czech Republic, Italy, Montenegro, North Macedonia, Romania, Serbia, and Slovenia
Sell in any currency EUR/USD/CHF/GBP…! Conversion to RSD/HRK/BAM/MKD is done by the plugin!!!
INTEGRATION PROCEDURE VIDEO:
The plugin is developed for the Banca Intesa “NestPay” in the Adriatic region/South-Eastern Europe (Serbia, Croatia, BiH…) but it is compatible with the “ASSECO NestPay” anywhere in the world (you just need to change the gateway URL).
FULL WooCommerce Integration! All operations are available from the site itself:
– Auth(simple sale)
– PreAuthorization (money reservation on CC)
– PostAuthorization (money capture from CC, full or partial)
– VOID (Cancelation)
– Refund (full or partial)
Customizations or changes are possible with separate deals.
The configuration is easy. There are few important parameters and no coding is required.
1. Install the plugin into WordPress (Plugins > Add New > Upload Plugin)
2. Activate it
3. Go to WooCommerce settings and click on the “Checkout” tab, you’ll see the “Nestpay Intesa” Link
4. The first-time activation requires an API key, enter it and click on “Activate”. You can use it on a maximum of 1 site. 3 activations will be allowed.
In the WooCommerce Checkout section, you’ll see plugin options after activation.
-Enable plugin: yes/no
-Description: This controls the description that the user sees during checkout. You can leave it empty too.
-Bank logo: bank logo image. the image will be appended to the payment method name.
-CC logo: the image of supported CC types. The image will be appended to the payment method name.
-Use currency: If your site uses a currency other than one accepted by the bank NestPay system you can then explicitly set currency here.
-Conversion rate (multiplier): if you tick “Use currency” you should provide an exchange rate here
-Language code: code for language to be used on NestPay CC input page (rs, en, it …)
-Merchant ID: Enter merchant id from Intesa backend (provided by bank system).
-Merchant/API User Name (you generate it on the bank merchant portal or use the username of the main account)
-Merchant/API Password (you generate it on the bank merchant portal or password of the main account)
-Form submit URL: Form submit URL for pay redirect. Provided by the bank. Make sure to put production URL for real store, not testing one (provided by bank system, example: https://testsecurepay.eway2pay.com/fim/est3Dgate).
-API URL: NestPay API service URL. Provided by the bank. Make sure to put production URL for real store, not testing one (provided by bank system, example: https://testsecurepay.eway2pay.com/fim/api).
-Store key: Secret generated by you on the merchant portal (example: https://testsecurepay.eway2pay.com/bib/report/user.list). If you change it on the merchant portal make sure you update it also in plugin settings. It should be long and complicated.
-Title: This controls the title that the user sees during checkout.
-Transaction type: usually you can’t choose and a bank will tell you what to use. Pre-Authorization requires you to “capture” authorized transactions from the merchant portal.
-Store type: bank staff will tell you. Usually 3d_pay_hosting unless you are a merchant from Bosnia and Hercegovina.
-Override post-back URL: set this only if you don’t see transaction data on the thank you page. It should be a URL to your thank you page without query string parameters (skip part after ?).
-Order completed status: Select order completed status.
-Order failed status: Select order failed status.
-Plugin API key: Plugin API key (provided by us).


